Printing from a Private Computer
As a student and staff, you can print from a private computer when you are connected to the university's network.
In order to print from a private computer, you need to add the printer manually or install a software on your computer.
You will find a guide for each operating system in the links below.
Linux/Ubuntu 24.04 LTS
1. Navigate to https://www.konicaminolta.se/sv-se/support/download-centre External link, opens in new window.
2. Search for Bizhub C458, select Linux and then the download link:
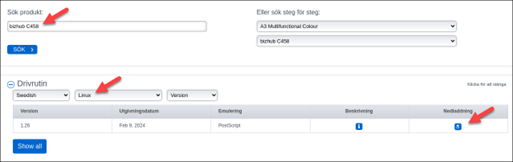
3. Choose the file “KMbeuUXv1_26_multi_language.tar.gz”
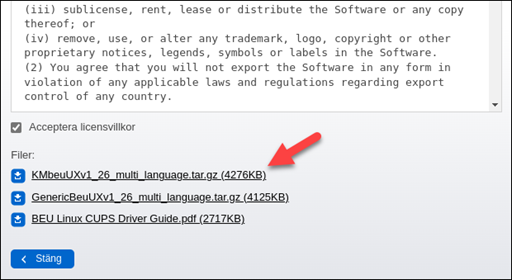
4. Extract the files.

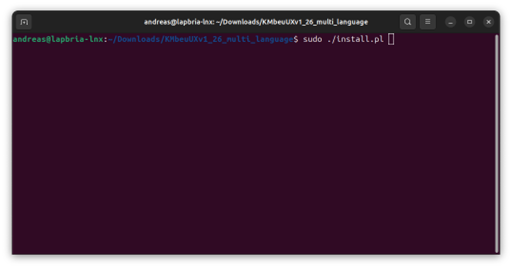
5. Open the Terminal and navigate to the extracted folder. Run the installer (install.pl) with sudo.
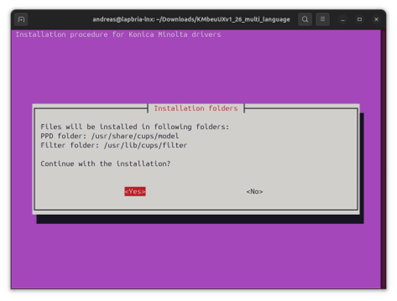
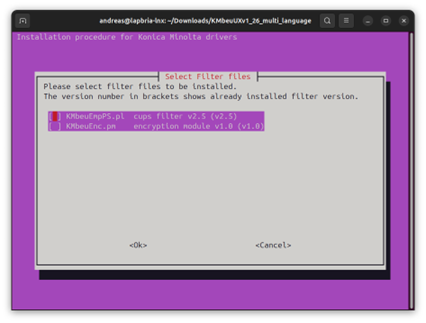
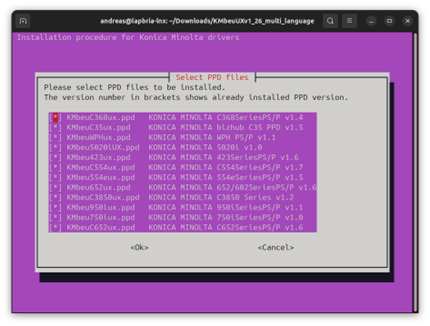
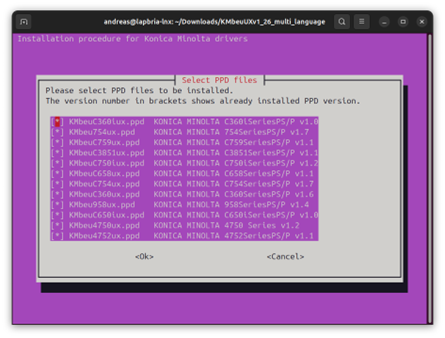
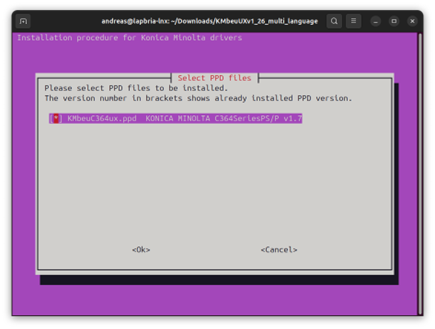
6. Follow the instructions according to the screenshots below:
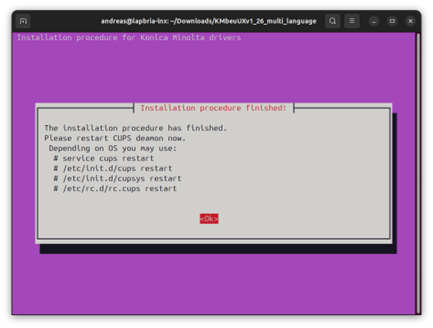
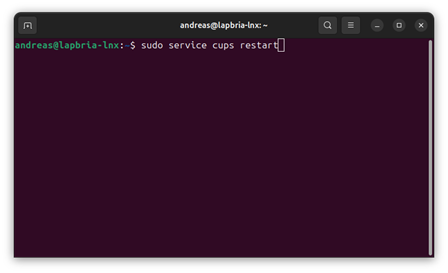
7. Restart the CUPS service.
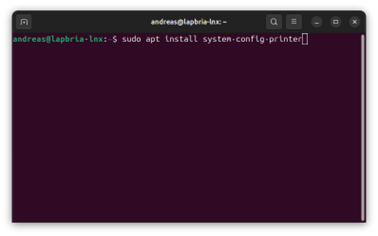
8. Type “sudo apt install system-config-printer” to install the CUPS configuration tool.
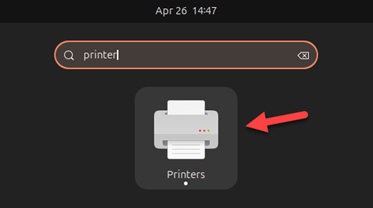
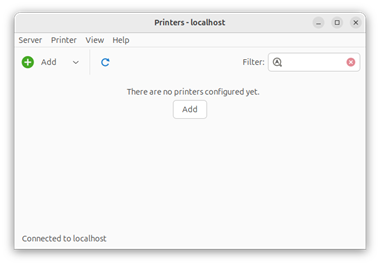
9. Search for “printer” to open the tool.
10. Choose “Add”
11. Add a new printer with “Enter URI”.
Type in the address: lpd://[username]@ju-printq.ju.se/secure

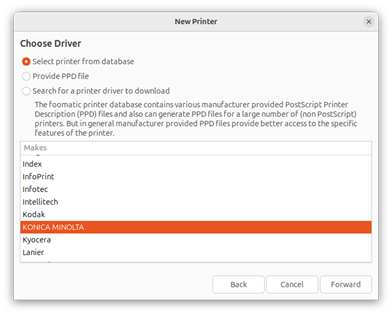
12. Select “printer from database” and choose “KONICA MINOLTA”.
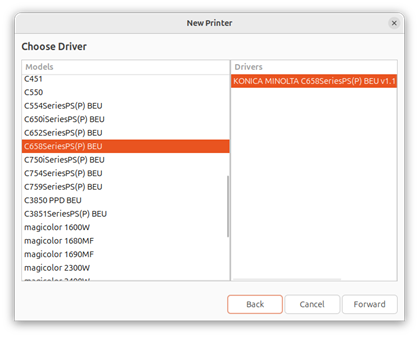
13. Choose the driver “C658SeriesPS(P) BEU”.
14. Choose the printer options according to the screenshot below:

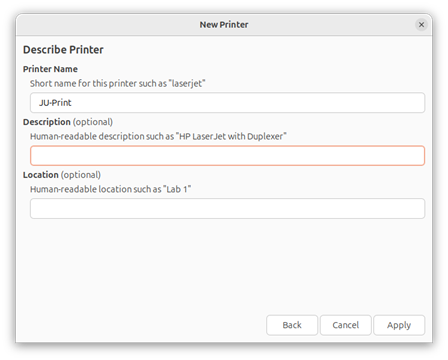
15. Set a printer name and choose Apply.
You can also upload files to Ju-Print.ju.se External link, opens in new window. or send them trough your JU-email to ju-print@ju.se